Step-by-Step: Water Heater Installation in Broomfield Made Easy
SP
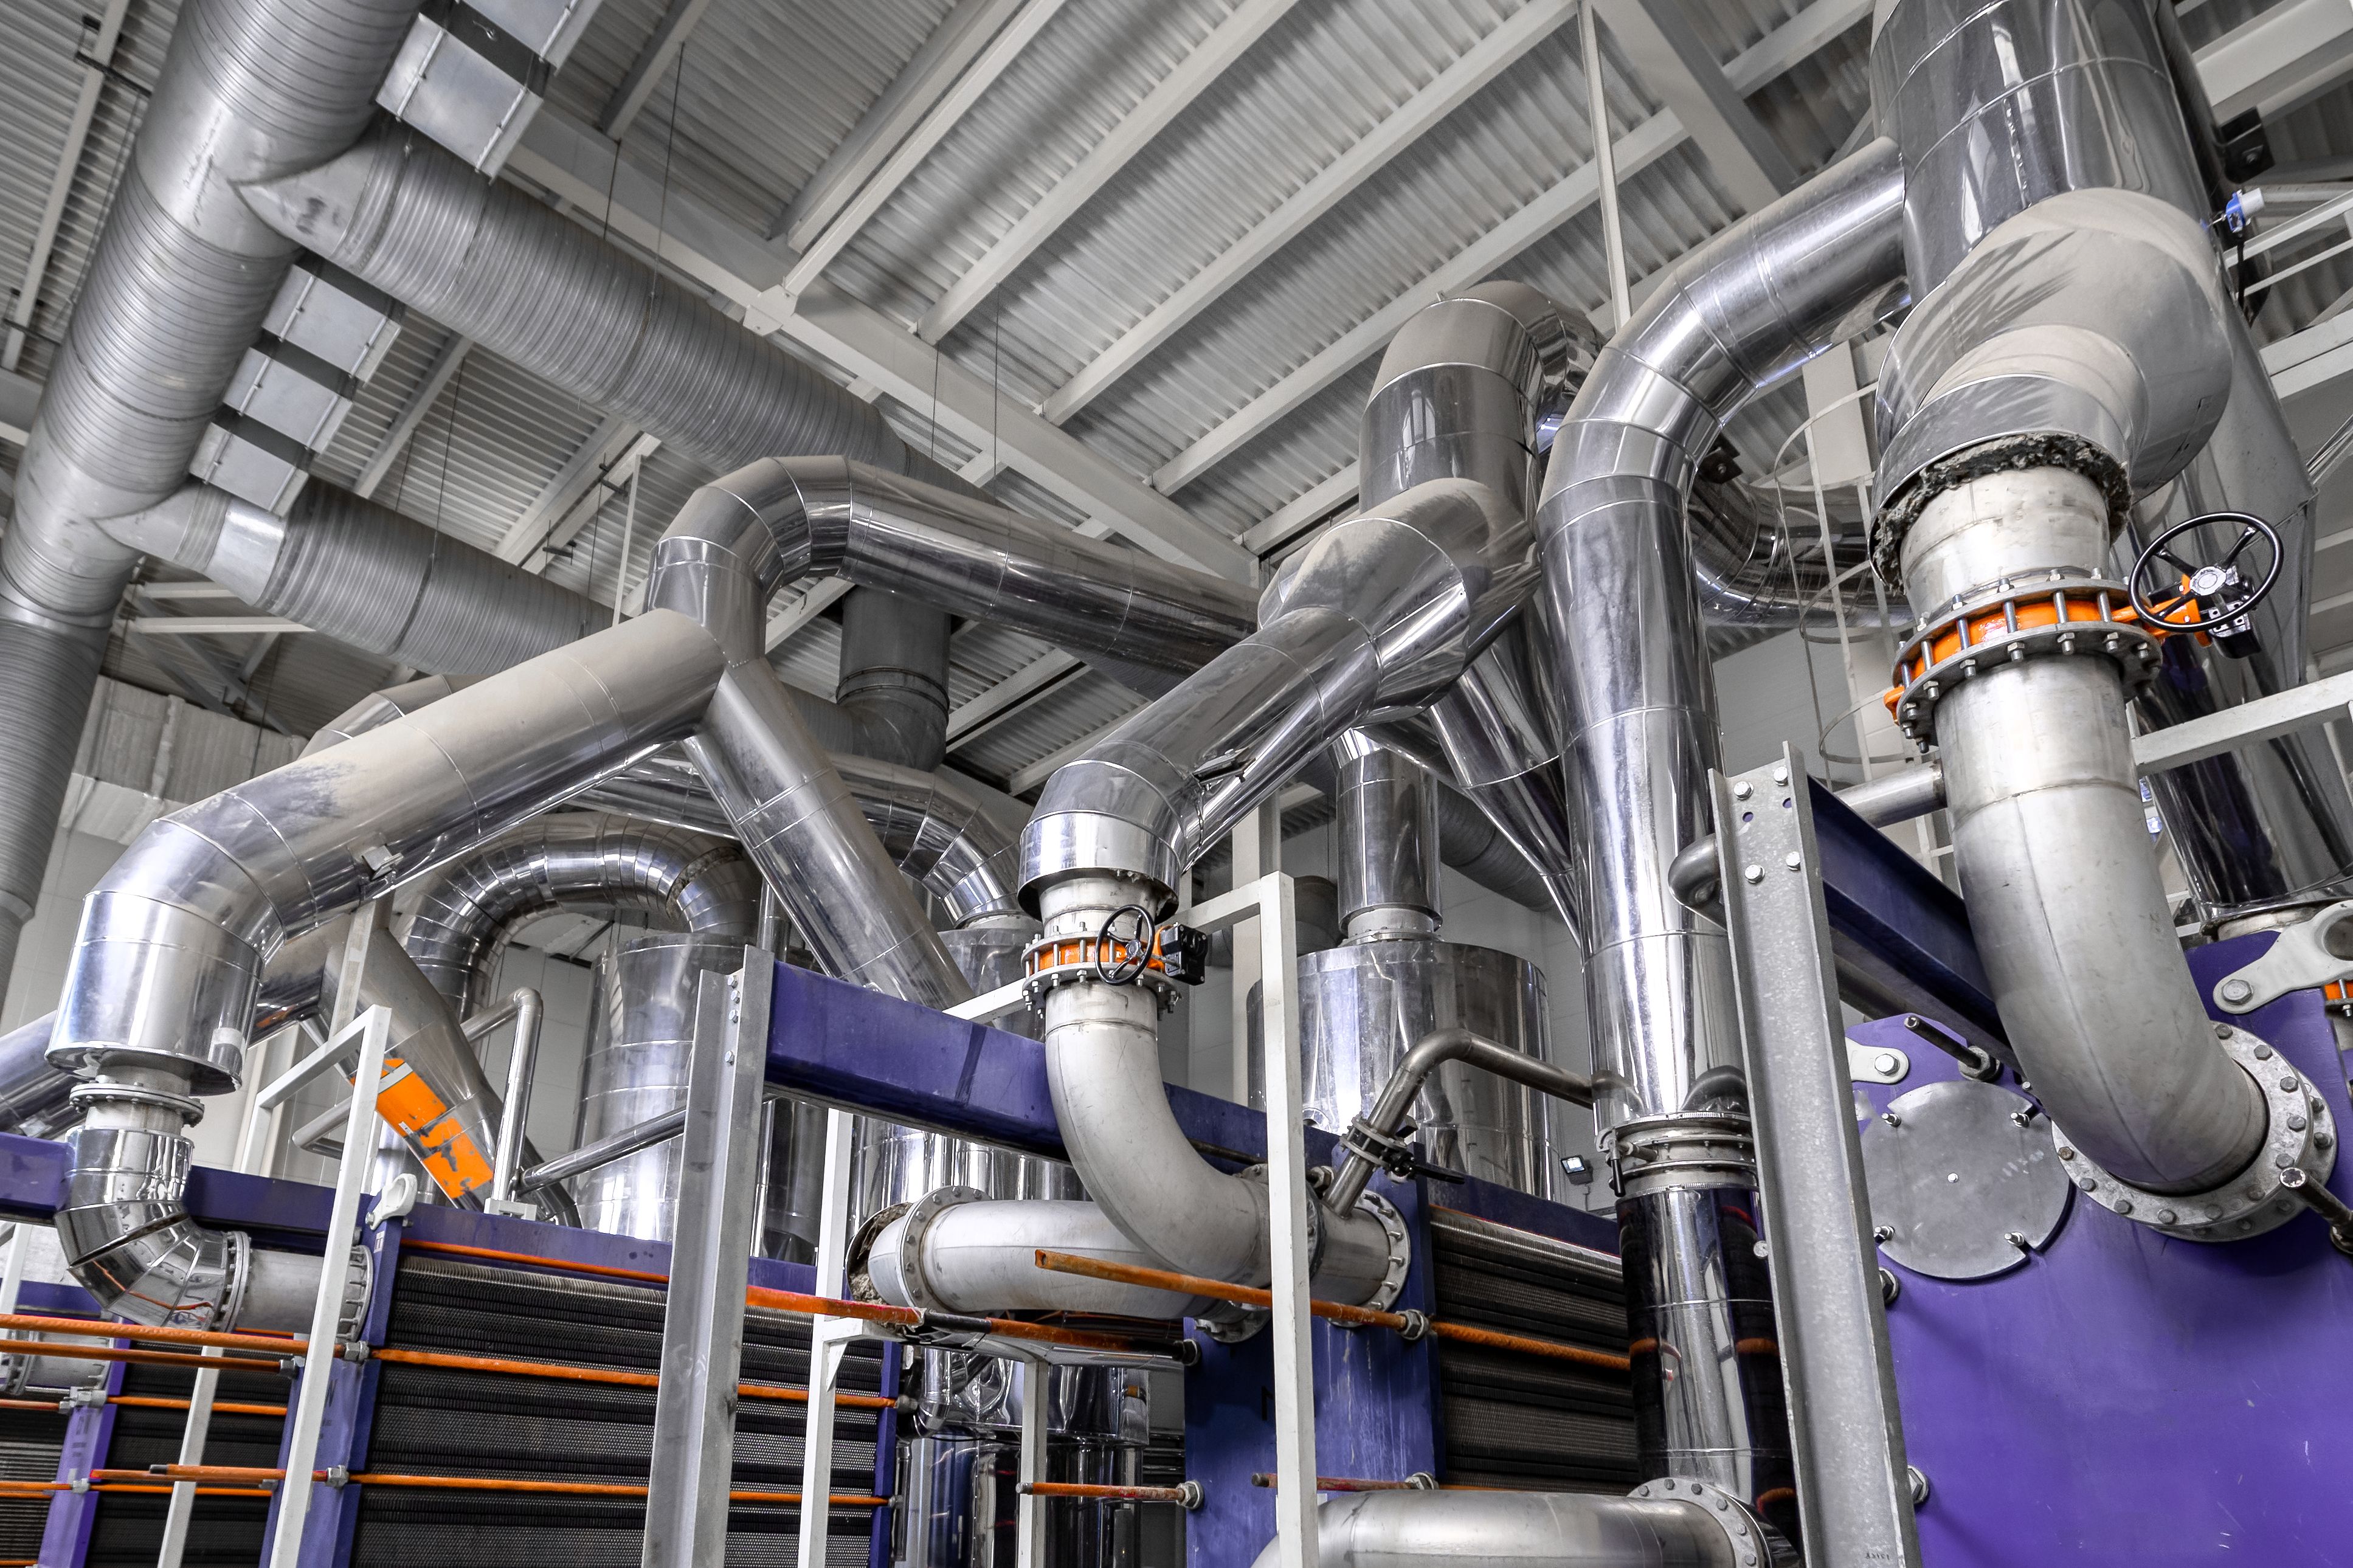
Understanding Your Water Heater
Before embarking on the installation of a water heater, it's crucial to understand the type of unit you're working with. The two main types are tankless and storage water heaters. Each has its advantages, with tankless models offering on-demand hot water and storage models providing a reservoir of pre-heated water.
Additionally, consider whether you're installing an electric or gas-powered unit. Electric models are typically easier to install, whereas gas units might require additional venting and safety considerations.
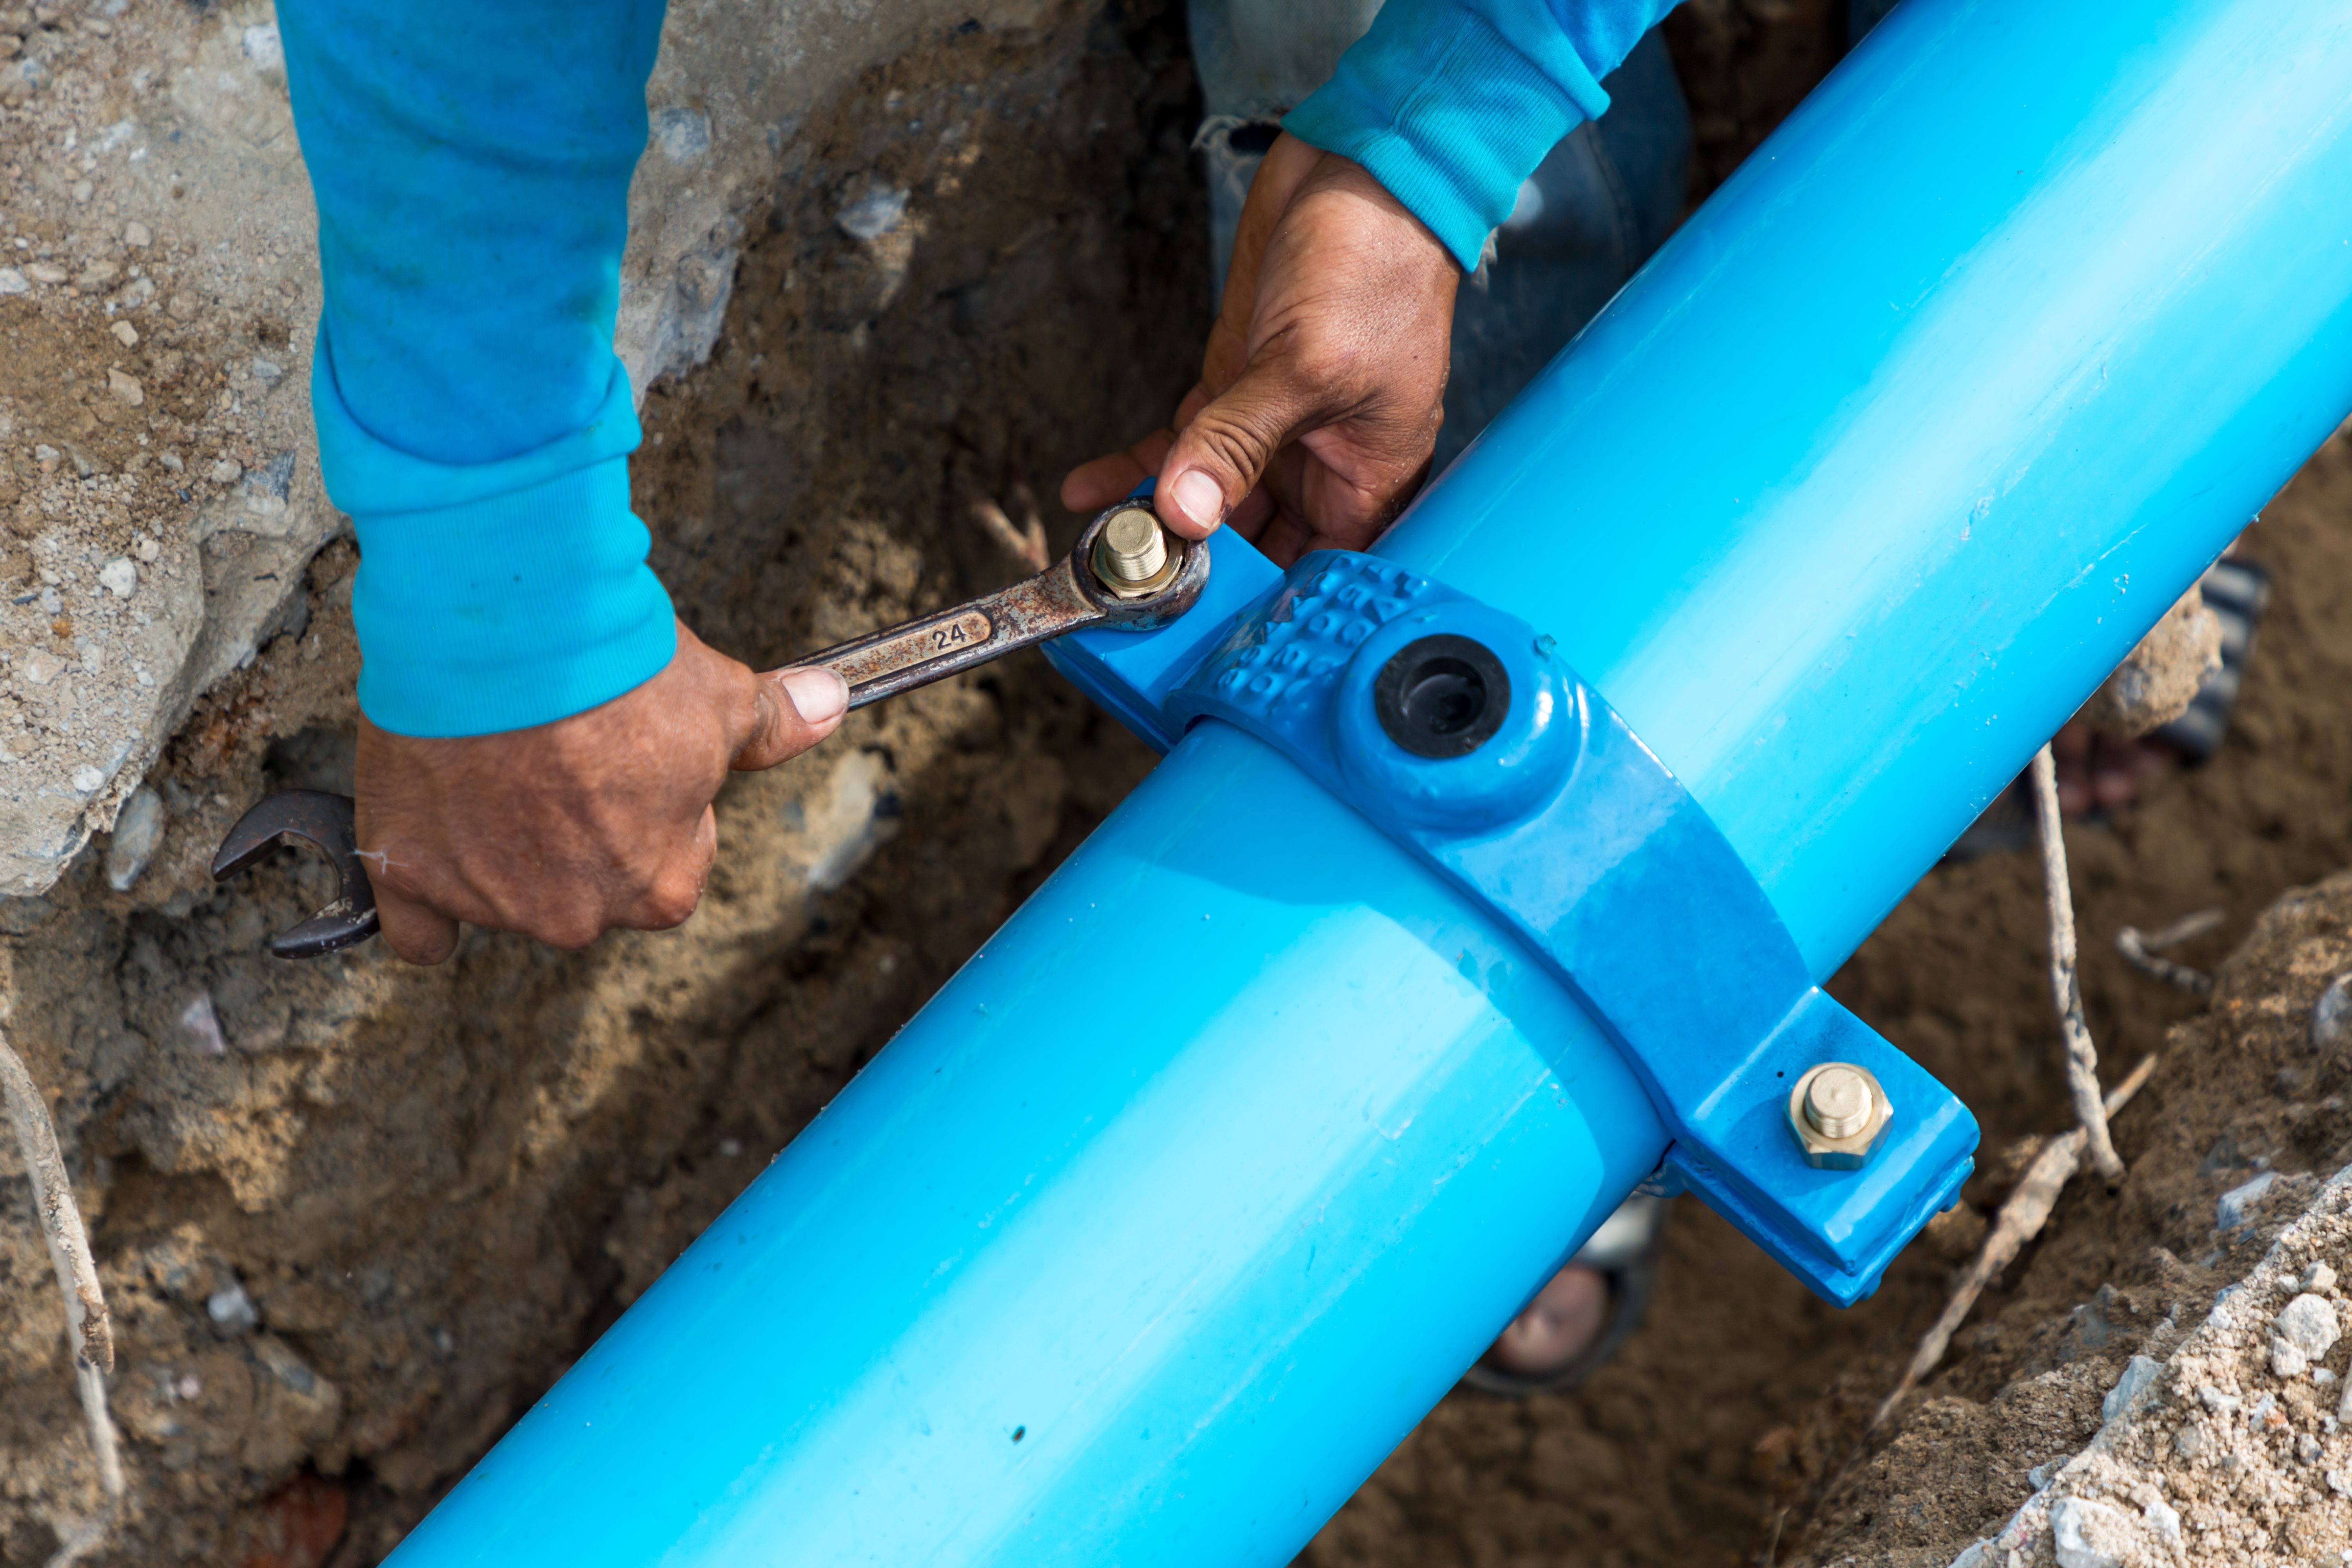
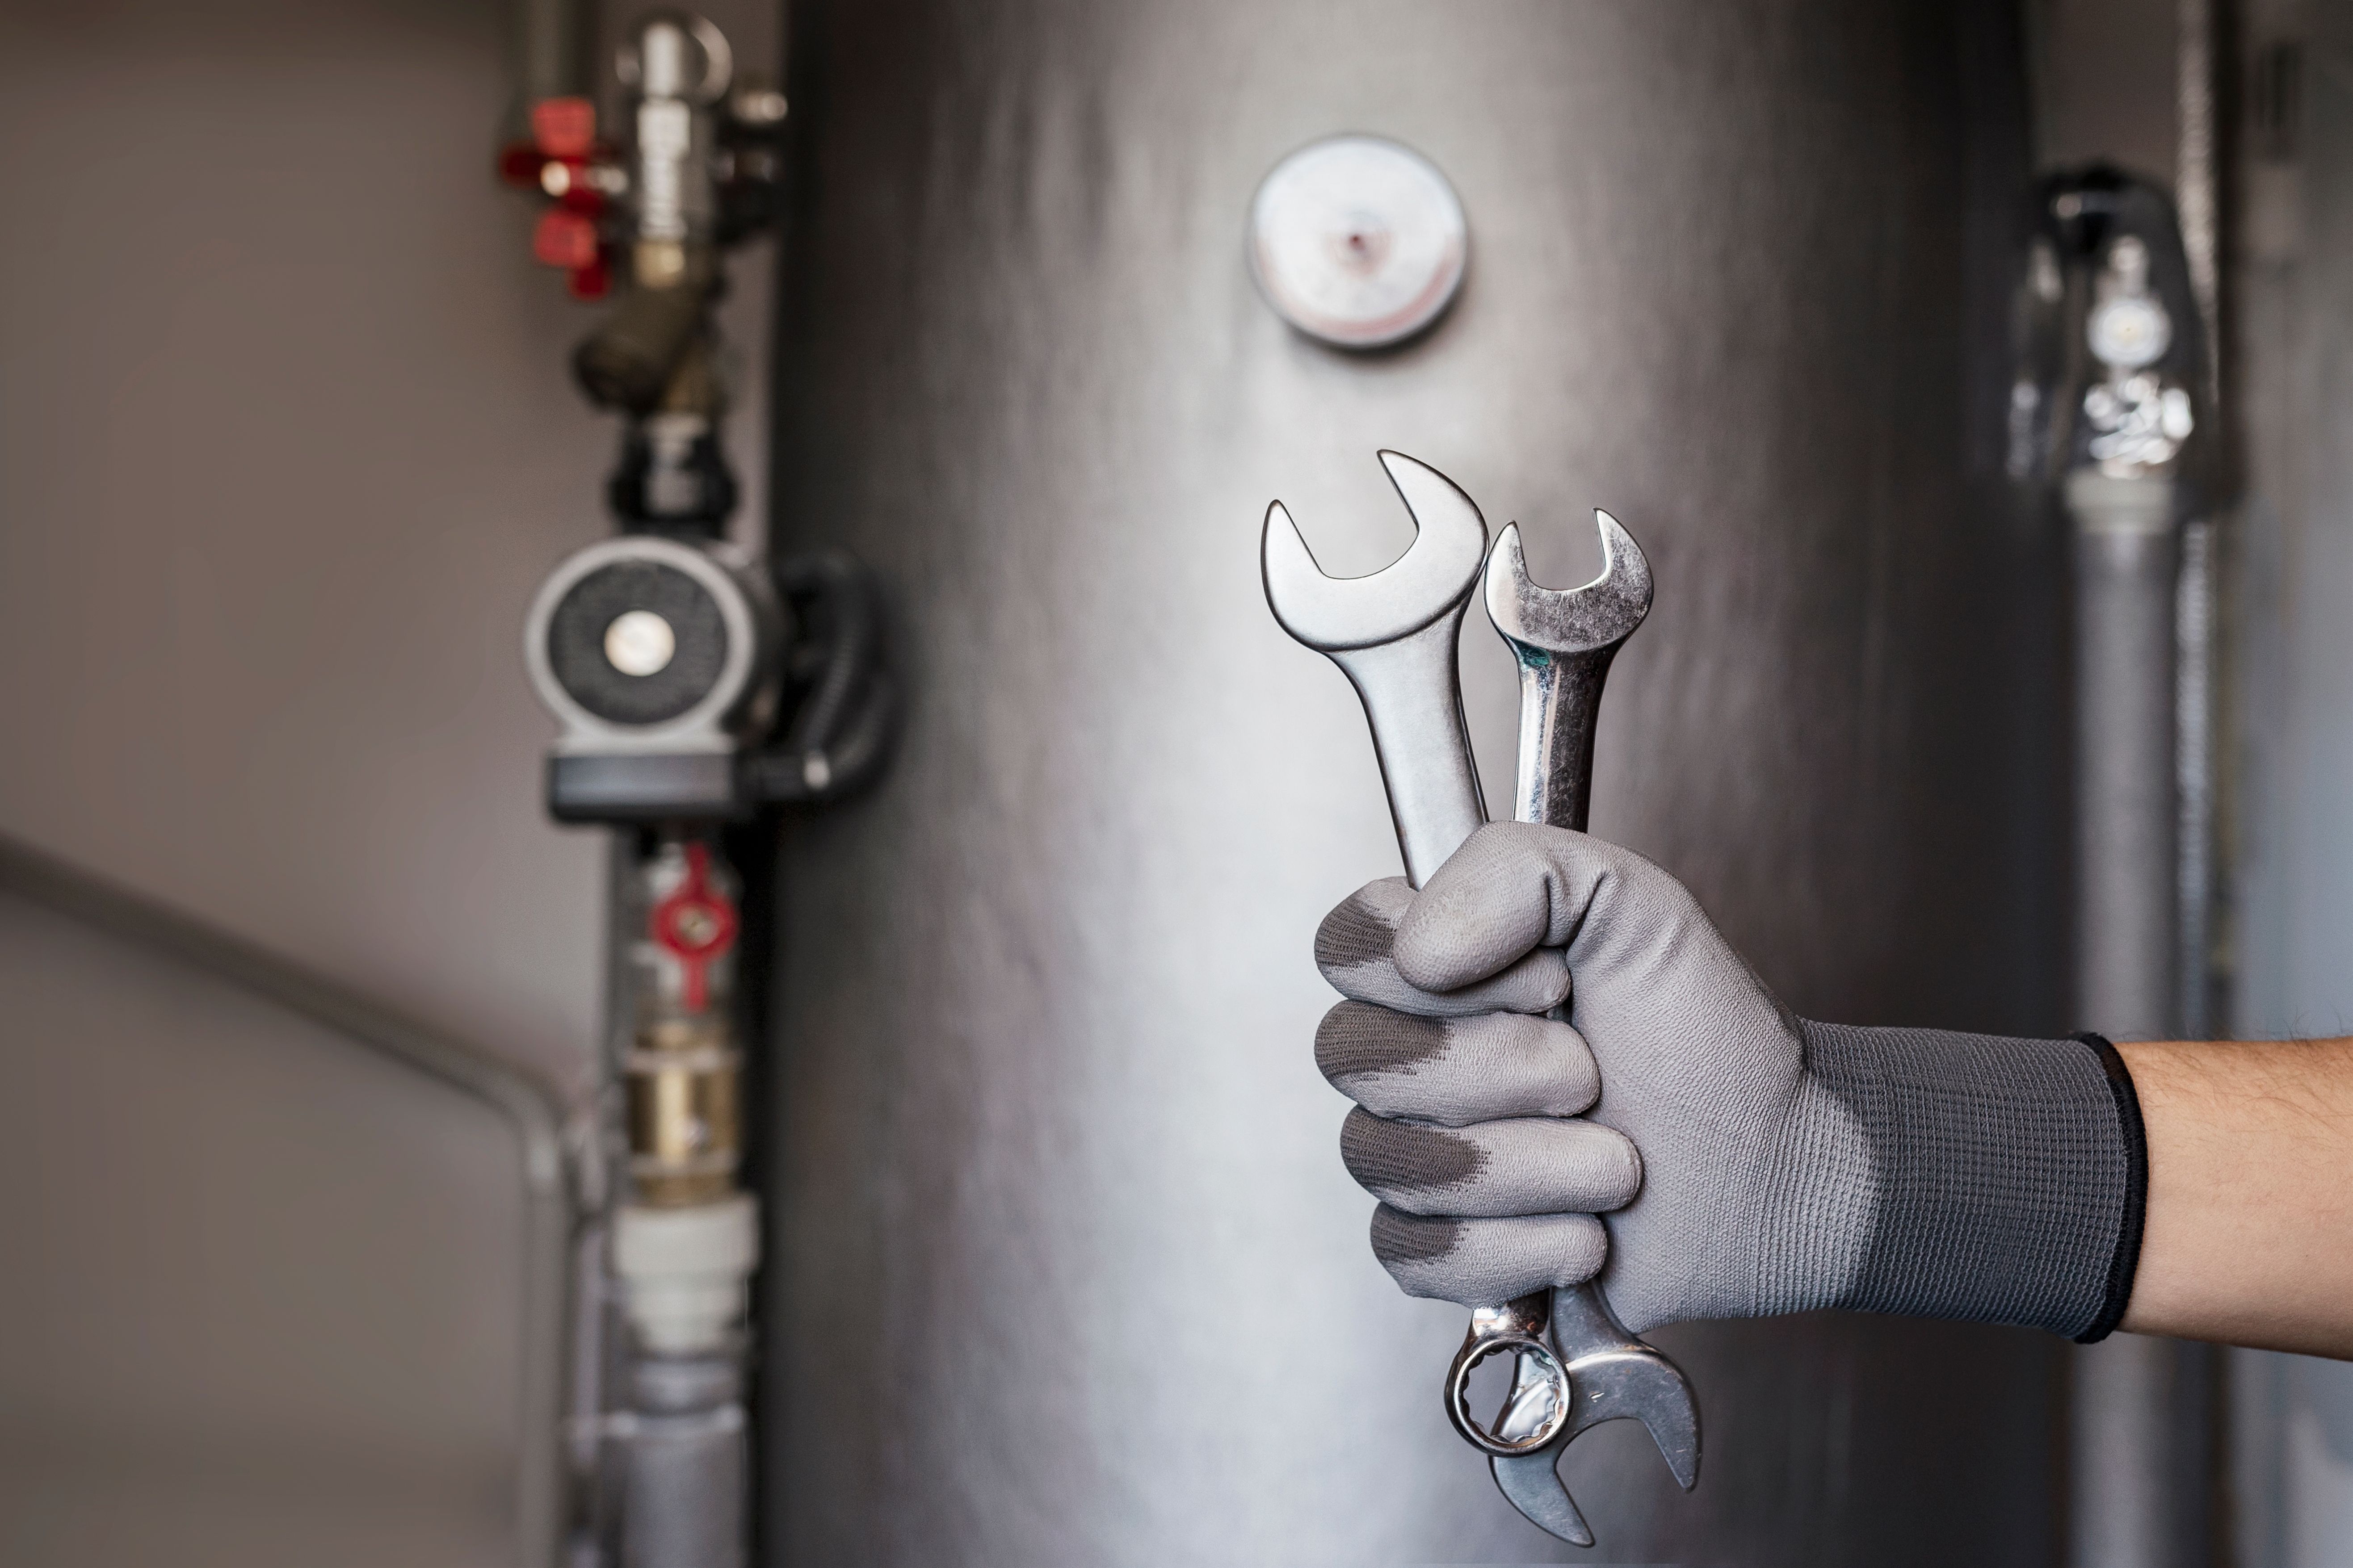
Gathering the Necessary Tools and Materials
Having the right tools and materials on hand will streamline the installation process. Essential tools include a pipe wrench, screwdriver, tubing cutter, and a level. You'll also need materials like Teflon tape, pipe fittings, and possibly a discharge pipe if your model requires one.
Before you start, make sure you have the correct size water heater for your household's needs. The unit's capacity should match the number of people in your home and your average water usage.
Preparing the Installation Area
Once you have all tools and materials ready, prepare the installation area. This involves turning off the main water supply and electricity or gas connection to ensure safety. Drain the old water heater if you're replacing it, and remove it from the space.

Ensure the new unit's location allows easy access to plumbing and power connections. The area should be dry and well-ventilated, especially for gas models, to prevent moisture buildup and potential hazards.
Installing the Water Heater
With everything prepared, it's time to install the new water heater. Follow these general steps:
- Position the Water Heater: Carefully place the unit in its designated spot, ensuring it's level for optimal performance.
- Connect Water Lines: Use flexible hoses to connect the cold water inlet and hot water outlet. Ensure all connections are tight to prevent leaks.
- Attach Power or Gas Supply: For electric units, safely connect the wiring according to the manufacturer's instructions. For gas units, ensure the gas line is securely connected and check for leaks using a soapy water solution.
Testing Your New Water Heater
Once installed, it's essential to test your new water heater to ensure everything is functioning correctly. Turn on the water supply and fill the tank if it's a storage model. For both types, activate the power or gas supply and set the thermostat to your desired temperature.
Check all connections for leaks by observing any dripping or pooling water around the unit. Ensure that hot water is flowing properly through your faucets and adjust settings as needed for optimal performance.
Maintenance Tips for Longevity
Regular maintenance is key to extending the life of your water heater. Every few months, inspect all connections for any signs of wear or leaks. For tank models, periodically drain a few gallons from the tank to flush out sediment buildup.
If you have a tankless model, clean the filters and check for any mineral buildup that might affect efficiency. Following these simple maintenance tips can prolong your unit’s lifespan and ensure consistent hot water availability.
Troubleshooting Common Issues
If you encounter issues such as inconsistent water temperature or strange noises from your unit, don't panic. Many common problems have simple solutions. Ensure that your thermostat settings are correct and check for any blockages in pipes or vents.
If problems persist, consult with a professional technician who can diagnose more complex issues. Regularly scheduled professional inspections can also help prevent major problems before they develop.